I have a number of blog posts explaining why family portraits are special and how they remind you about the people most important in your life. As you know, I encourage you to display your family photos in your home (in fact, I have a minimum print purchase with every family portrait session). So while you may have the standard 8×10 picture on the mantel or the kids’ school pictures frames on your nightstand (I know I do), my favorite way to display family photos is by creating a family gallery wall.
It sounds much more overwhelming than it is. Here are some tips to get you started.
-
- Find some inspiration. Before you start making holes in your walls, you need a vision. A simple Internet search for “family gallery wall” will provide you with plenty of images of gallery walls to get you started on envisioning what your wall could look like. Start noticing what you like. How many pieces? How large should they be? Do you like photographs combined with other types of artwork?
- Pick a wall. And not just any wall, mind you. A family gallery wall is one that is large enough to accommodate the addition of photographs over time, as your family grows and changes. And it should be somewhat central to the home, or at least to your life, so that you can enjoy and admire it often. Popular spots are hallways, stairways, large walls in the living room, and sometimes kitchen nooks. The size and shape of your wall will help determine how your gallery will hang and how many prints you can fit there.
- Rearrange to create more wall space, if needed. If you find that you have your walls filled with artwork already, it may be time to reevaluate if it’s all important. You may have bought an inexpensive piece from Home Goods that you love, but wouldn’t you rather have it swapped our for something more meaningful, like a family portrait?
- Create a draft layout so you know where you’re going. This step is where you take the inspiration you gathered in step 1 and translate it to your own wall and the pieces you have. A gallery wall is a a curated collection or artwork that compliment each other. Maybe you prefer to hang your pieces in a grid display, or maybe you’re going for a salon-style hang where the pieces are all nestled together? You can find templates in my family portrait guide as a starting place.
- If you have some, choose a few large prints to anchor the gallery. The largest pieces in the gallery will be the most impactful, so select pieces that are meaningful to you. If you don’t have large anchor pieces yet, then let’s schedule a family portrait session and get you one! The most impactful pieces are hung at eye level and smaller pieces are peppered around them.
- Let it grow! My opinion is that family gallery walls should have space to add new images overtime, as our families grow and change. If you fill your wall with photographs of your kids as babies, there will be no room to add more photographs later! Start with a small arrangement that works on the wall, and every time we do a family portrait session, we can add with new photographs.
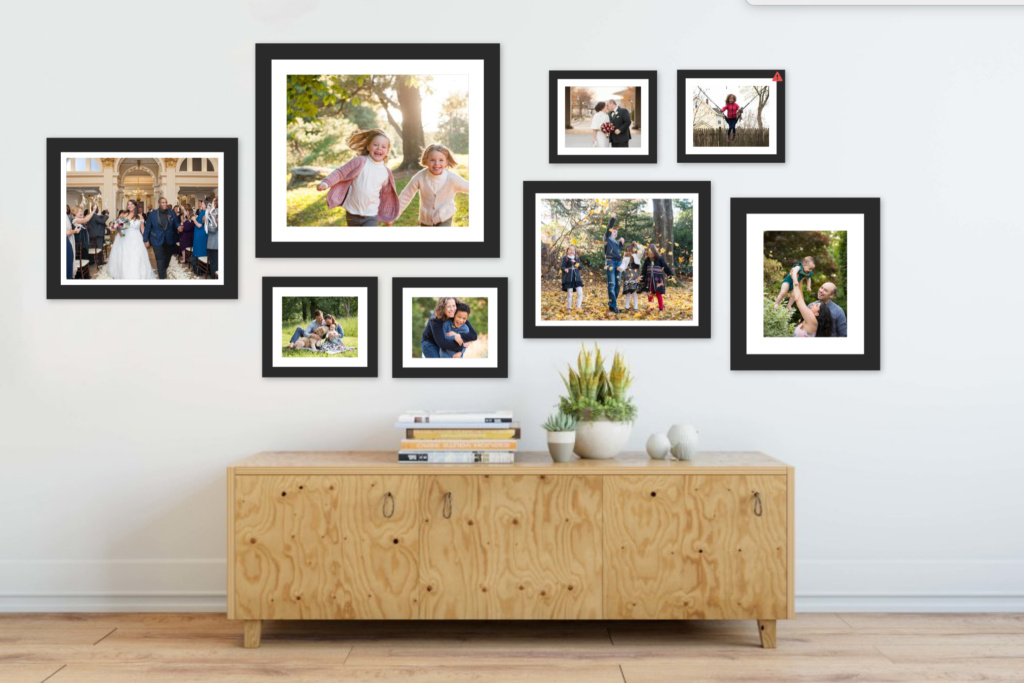
I recently created a salon-style gallery wall in my studio, and the image below was my template. I selected a few larger images to anchor the wall, and filled in with a few smaller ones, leaving space to add.
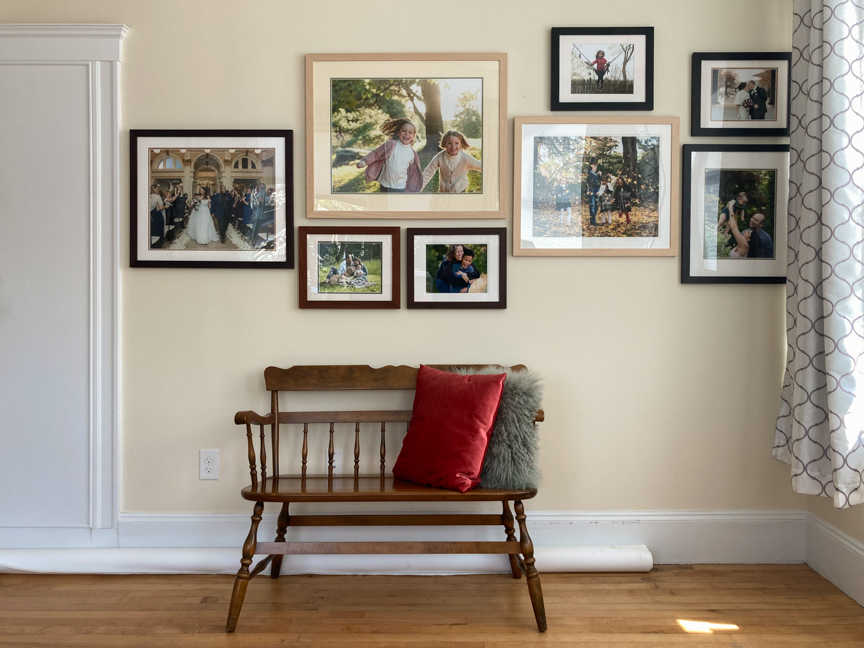 And here is the wall, in real life! If you’re ready to design and install a gallery wall in your home, and need family portraits for it, contact me so we can get started!